
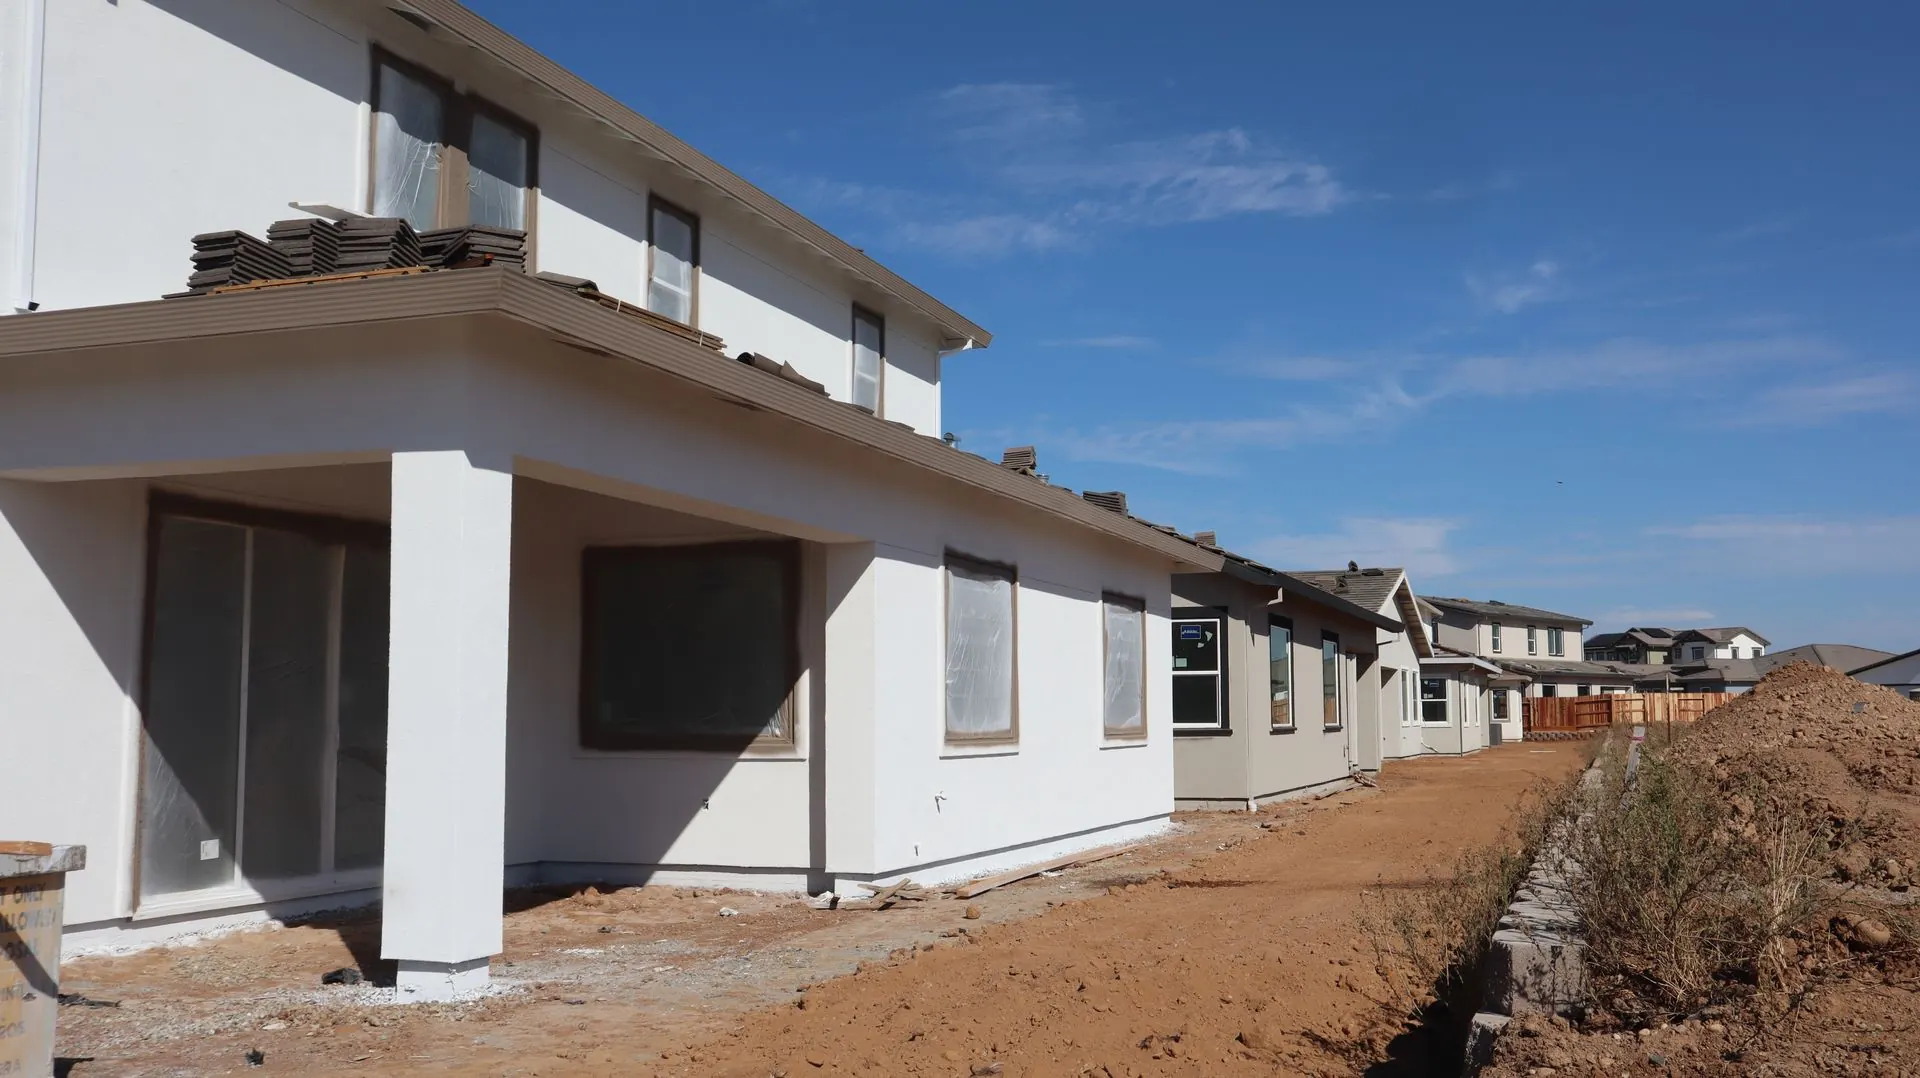
Booking air tightness testing with useful site information
National Building Compliance arranges accredited assessors and connects the test appointment with your project information. Send the plot schedule, current plans, energy design target and outstanding-work list when requesting air tightness testing. Flag phased handovers or shared access arrangements so the proposed scope reflects how the site actually operates.
About our Air Tightness Testing service
For the service itself, see Air Tightness Testing.
1.Set the air tightness target before procurement
Obtain the design air permeability from the energy assessor and put it in the construction information. Approved Document L links tested air permeability with energy compliance, so a general benchmark is an inadequate substitute for the project’s own calculation. Make sure the builder and person booking the appointment are using the same drawing revision.
For a phased development, record the target by plot and construction type. For a self-build, ask who will check the details when specialist trades change the design. Our guide to a good air tightness test result explains why the measured value needs that context.
- Arrange air tightness testing with the design target and proposed construction sequence available.
2.Draw the air tightness line through every junction
Mark the intended air barrier on plans and sections. Follow it around the floor edge, walls, roof, openings and changes in level. Ask how adjoining materials connect, especially where masonry meets timber or a roof meets a lower extension. A broad note asking for airtight construction does not explain how installers should finish those junctions.
Choose compatible tapes, membranes, seals and substrates with the designer and product suppliers. Check surface preparation and protection while access is easy. A well-selected product can still fail if it is applied to dust, stretched across an unsupported gap or damaged by later work. Photograph difficult connections with their room or plot reference visible.
- Use air tightness testing planning to identify the test boundary before construction details are fixed.
3.Protect air tightness where services cross the envelope
Coordinate pipework, cables and ducts before each trade starts cutting openings. Group penetrations where the design permits and assign responsibility for closing them. Check behind fitted furniture and sanitary fittings before access disappears. A visible tidy finish around a cabinet does not establish that the envelope behind it is closed.
Keep the intended ventilation openings identifiable. Approved Document F describes planned ventilation provision; blocking a working air inlet to make the envelope appear tighter undermines that separate design. Ask the tester which intentional openings need method-specific preparation and leave that preparation under their direction.
- Coordinate ventilation testing with the envelope work so air paths remain deliberate and documented.
4.Inspect concealed air tightness work before closing it
Use a hold point before lining walls, boxing services or fitting panels over junctions. Walk the envelope with the relevant installer and compare the built work with the marked drawings. Look for torn membranes, missing seals and connections that stop short of an adjoining surface. Record the repair owner and check completion rather than carrying an unresolved snag forward.
Repeated construction deserves repeated attention. If a detail is wrong in an early plot, inspect the same junction elsewhere before every unit is finished. Diagnostic testing may be useful while repairs remain accessible, but distinguish that investigation from the completed building evidence. Ask for the scope of any extra visit in writing; see air tightness test cost.
- Discuss diagnostic checks through air tightness testing before finishes cover suspected leakage routes.
5.Prepare the completed home for the air tightness visit
Confirm the building is ready with the tester before releasing the appointment. Windows, external doors, loft access and service entries should be in their intended completed condition. Provide the latest drawings and an accurate plot identifier. Arrange safe access, suitable power and enough working space for the testing equipment without relying on another trade to clear it on arrival.
Stop work that would alter the envelope during measurement. Tell the tester about unfinished items and unusual openings instead of covering them quietly. Preparation must represent the test method and building condition accurately. For coordinated completion planning, self-builders can gather the energy, ventilation and test information together before the visit.
- Confirm readiness and access with air tightness testing before the tester attends.
6.Resolve air tightness defects and close the evidence trail
If the result disappoints, ask for a clear description of the suspected leakage and agree permanent repairs. Avoid adding sealant indiscriminately around moving parts or designed drainage routes. Check whether concealed junctions need opening before selecting a repair. Record what changed so a later measurement can be understood against the original condition.
Approved Document L describes improvement and further testing where the criteria are not met. Send the completed report to the energy assessor and the person handling Building Control submissions. Keep the test history with the drawings and final specification rather than filing an isolated certificate without its supporting context.
- Return repair details and revised access arrangements to air tightness testing when arranging any further measurement.