1.Define the sound insulation test scope at design stage
Give the acoustic adviser the proposed use, layouts and construction details. Approved Document E distinguishes performance guidance for purpose-built dwellings, conversions and rooms for residential purposes. Confirm the applicable project category before choosing details or commissioning tests, because the intended use affects how the results are judged.
Map shared walls and floors on a plot schedule. Include changes in construction rather than labelling the entire development as a single type. In a conversion, establish what the retained structure contains before committing to a lining design. Hidden voids and interrupted floor layers can affect the solution as much as the visible room layout.
- Plan sound insulation testing using drawings that identify each separating wall and floor type.
2.Check sound insulation junctions before ordering materials
Ask for details showing how the separating wall or floor meets external walls, internal partitions and roof spaces. Sound can travel around an element through these adjoining structures. Check whether the proposed ceiling, floor treatment and wall lining work together rather than buying products from separate schedules without reviewing their junctions.
Treat a substitution as a design question. A board, resilient layer or fixing pattern may look equivalent while behaving differently in the installed assembly. Give the acoustic adviser product information and the proposed arrangement before approval. Do not use a laboratory result for one build-up as a guarantee for a different construction on site.
- Resolve wall and ceiling connections through party wall and ceiling design.
3.Inspect sound insulation layers before they are hidden
Walk the work with the installer before closing ceilings or covering floors. Check insulation placement, board layers, edge isolation and the fixing arrangement against the agreed detail. Look for screws or mortar that create unintended rigid connections. A small bridge across a resilient layer can undermine the purpose of an otherwise careful installation.
Keep photographs labelled by room, junction and plot. Record agreed changes and repair missing or damaged work while it remains accessible. For repeated units, use early inspections to check whether the same defect has spread. Evidence from the first completed flat is more useful when the next units have not already concealed the same connection.
- Review separating-floor build-ups and edge connections through party floor design.
4.Coordinate services without weakening sound insulation
Review ducts, pipe boxing, sockets and access panels as part of the acoustic construction. Openings can provide direct sound routes, while shared cavities can carry sound around the separating element. Confirm the treatment before installers cut into completed work. Access for later maintenance should be designed rather than created by removing a necessary layer at handover.
If the detail also has a fire-resisting function, refer changes to the relevant designer. Approved Document B addresses fire safety provisions, while Approved Document E addresses sound insulation. A product selected for one purpose should not be assumed to satisfy the other without evidence for the proposed application.
- Ask acoustic design to review altered service routes before the separating construction is closed.
5.Prepare the sound insulation test rooms and access
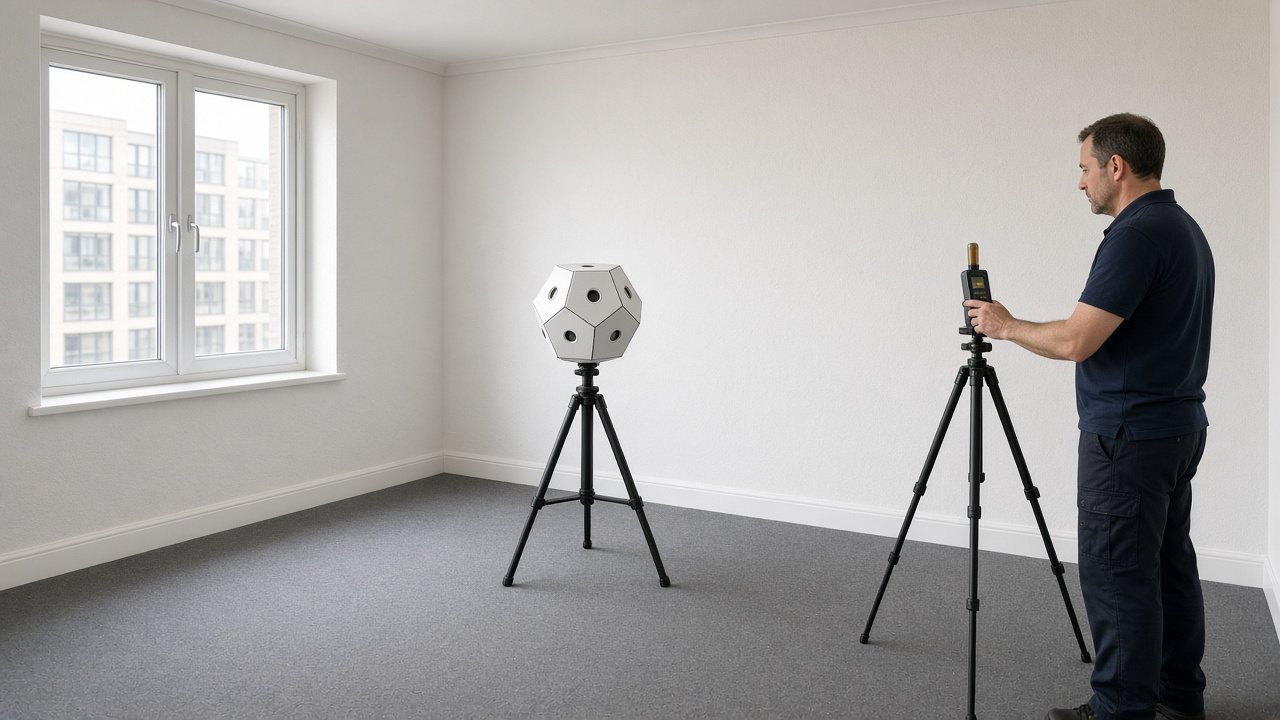
Confirm the required construction stage with the tester. Approved Document E describes pre-completion testing in essentially complete rooms and the treatment of floor coverings for impact testing. Do not add rugs or temporary finishes to improve an apparent result. Ask which surfaces and rooms need to remain available for the agreed test plan.
Arrange access to both sides of the separating element and reduce avoidable noise from site work. Check keys, resident access arrangements and room identification before attendance. Explain any plant or neighbouring activity that cannot be stopped. Our flat conversion checklist helps place this appointment alongside other conversion evidence.
- Confirm room readiness, access and background activity with sound insulation testing.
6.Use sound insulation failures to locate the actual defect
Ask whether the problem concerns airborne sound, impact sound or both, and which room pair was affected. Avoid ordering extra board everywhere before the acoustic adviser has reviewed the likely transmission path. A floor-edge bridge and an open wall junction call for different repairs. Keep the original construction record available so the investigation does not rely only on finished surfaces.
Approved Document E describes remedial action and further testing following unsuccessful tests, including consideration of other affected dwellings. Agree the repair and evidence plan with the project team and Building Control. For related envelope preparation, see how to pass an air tightness test, but keep the acoustic diagnosis separate.
- Arrange the agreed further measurements through sound insulation testing after repairs are complete.
Sound insulation test information to send with your enquiry
Send layouts, separating construction details, completion stages and previous results when requesting sound insulation testing. National Building Compliance arranges accredited assessors and coordinates the reporting scope through one contact. Developers should identify repeated construction types and access restrictions so the proposed appointment reflects the actual site rather than an assumed sequence of identical plots.
About our Sound Insulation Testing service
For the service itself, see Sound Insulation Testing.